Introduction:
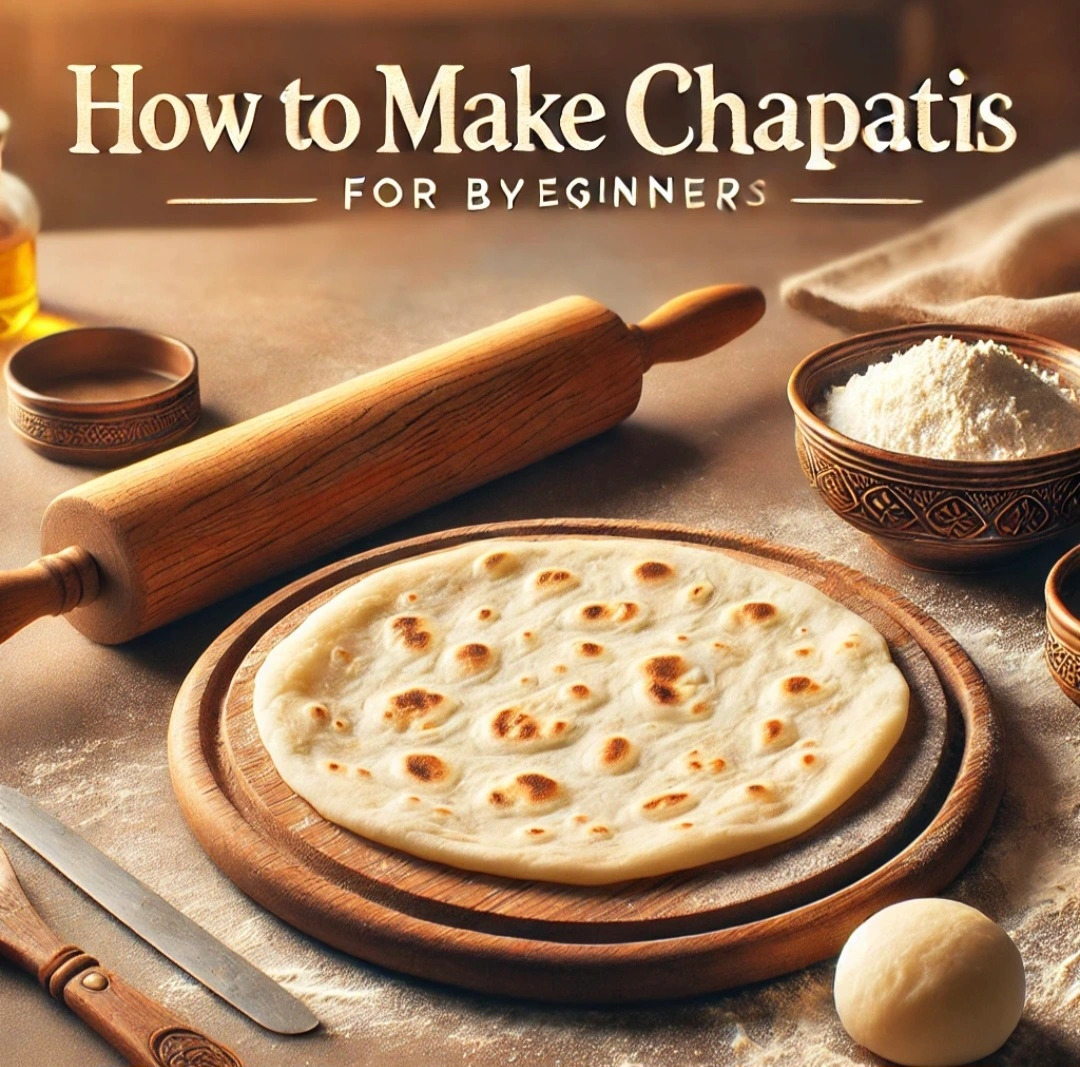
Chapati is one of the simplest yet most versatile staples in Indian cuisine. It’s a soft, whole-wheat flatbread, ideal for pairing with curries, dals, or stir-fried vegetables. Whether you’re a beginner in the kitchen or simply want to improve your chapati-making skills, this step-by-step guide will help you achieve soft, fluffy, and perfectly round chapatis every time.
1. Gather Your Ingredients: The Essentials
To start, you’ll need:
- 2 cups of whole wheat flour (atta)
- Water (as needed)
- A pinch of salt (optional)
- A teaspoon of oil (optional)
The combination of these simple ingredients lays the foundation for soft and delicious chapatis. Salt adds a touch of flavor, while a dash of oil makes the dough softer, but both are optional depending on your preference.
2. Mix the Dough: Achieve the Perfect Texture
Slowly add water to the flour in a large mixing bowl. As you pour, begin to knead the dough with your fingers. Be patient and add the water gradually to avoid a sticky texture. Kneading will take around 8-10 minutes until the dough becomes smooth and elastic. The smoother the dough, the softer your chapatis will be.
3. Rest the Dough: A Crucial Step
Let the dough rest for 15-20 minutes, covered with a damp cloth. This step allows the gluten in the dough to relax, which is essential for rolling out smooth, pliable chapatis later.
4. Portion the Dough: Make Uniform Balls
Divide the rested dough into small, golf-ball-sized portions. Lightly coat each piece in dry flour to prevent sticking as you roll. Aim for uniform size to ensure even cooking.
5. Rolling Out the Chapati: The Art of a Round Shape
Sprinkle your rolling area with dry flour, flatten a dough ball, and start rolling it out into a thin circle, about 6-8 inches wide. Rotate the dough as you roll to maintain the round shape. Don’t worry if it’s not perfectly round — with practice, you’ll improve.
6. Heating the Pan: The Right Temperature Matters
Preheat a tava or frying pan on medium-high heat. To test if the pan is hot enough, sprinkle a few drops of water. If they sizzle and evaporate quickly, it’s ready to go.
7. Cooking the Chapati: The Magic of Puffing
Place the rolled-out chapati on the hot pan. Cook it for 20-30 seconds on one side, until bubbles form, then flip. Cook the other side for another 20 seconds. To achieve that beautiful puff, gently press the edges with a cloth or spatula.
8. Optional: Add Ghee for Flavor
If you want to enhance the flavor, brush the finished chapati with a little ghee. This adds richness and keeps the chapati soft. If you’re aiming for a healthier option, feel free to skip the ghee.
9. Serving Your Chapati: Pair It Right
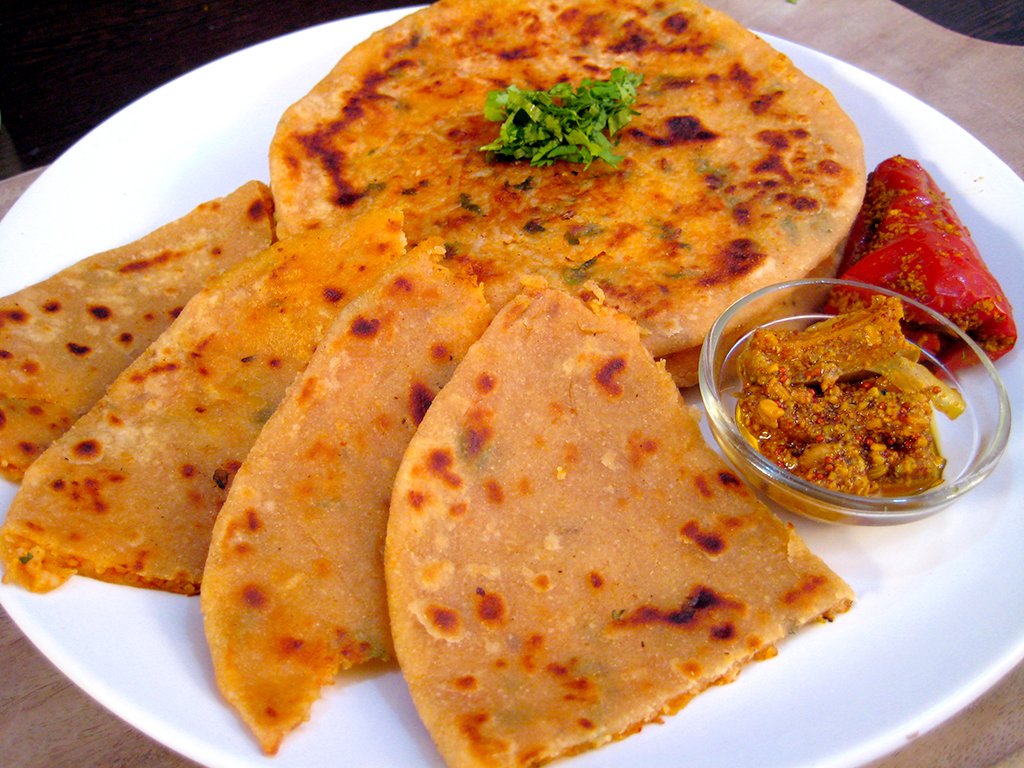
Chapati pairs well with a variety of dishes. Serve it fresh with dal, curries, or even a vegetable stir-fry for a nutritious, wholesome meal. For the best experience, serve the chapatis immediately after cooking when they’re at their fluffiest.
10. Storing Leftovers: Keep Them Fresh
Store any leftover chapatis in an airtight container. To reheat, simply place them on a hot pan or microwave them wrapped in a damp paper towel. This will restore their softness.
Conclusion:
Mastering chapati-making is a rewarding skill, and this guide ensures you’ll have soft, fluffy chapatis every time. Whether you’re a beginner or a seasoned cook, these simple steps will help you perfect this staple dish. Happy cooking!


